Swimming Safety
Open Water Swimming Safety: A Before-You-Swim Checklist
Plan a safer open-water swim with checks for local conditions, supervision, entry and exit points, visibility and your return plan.
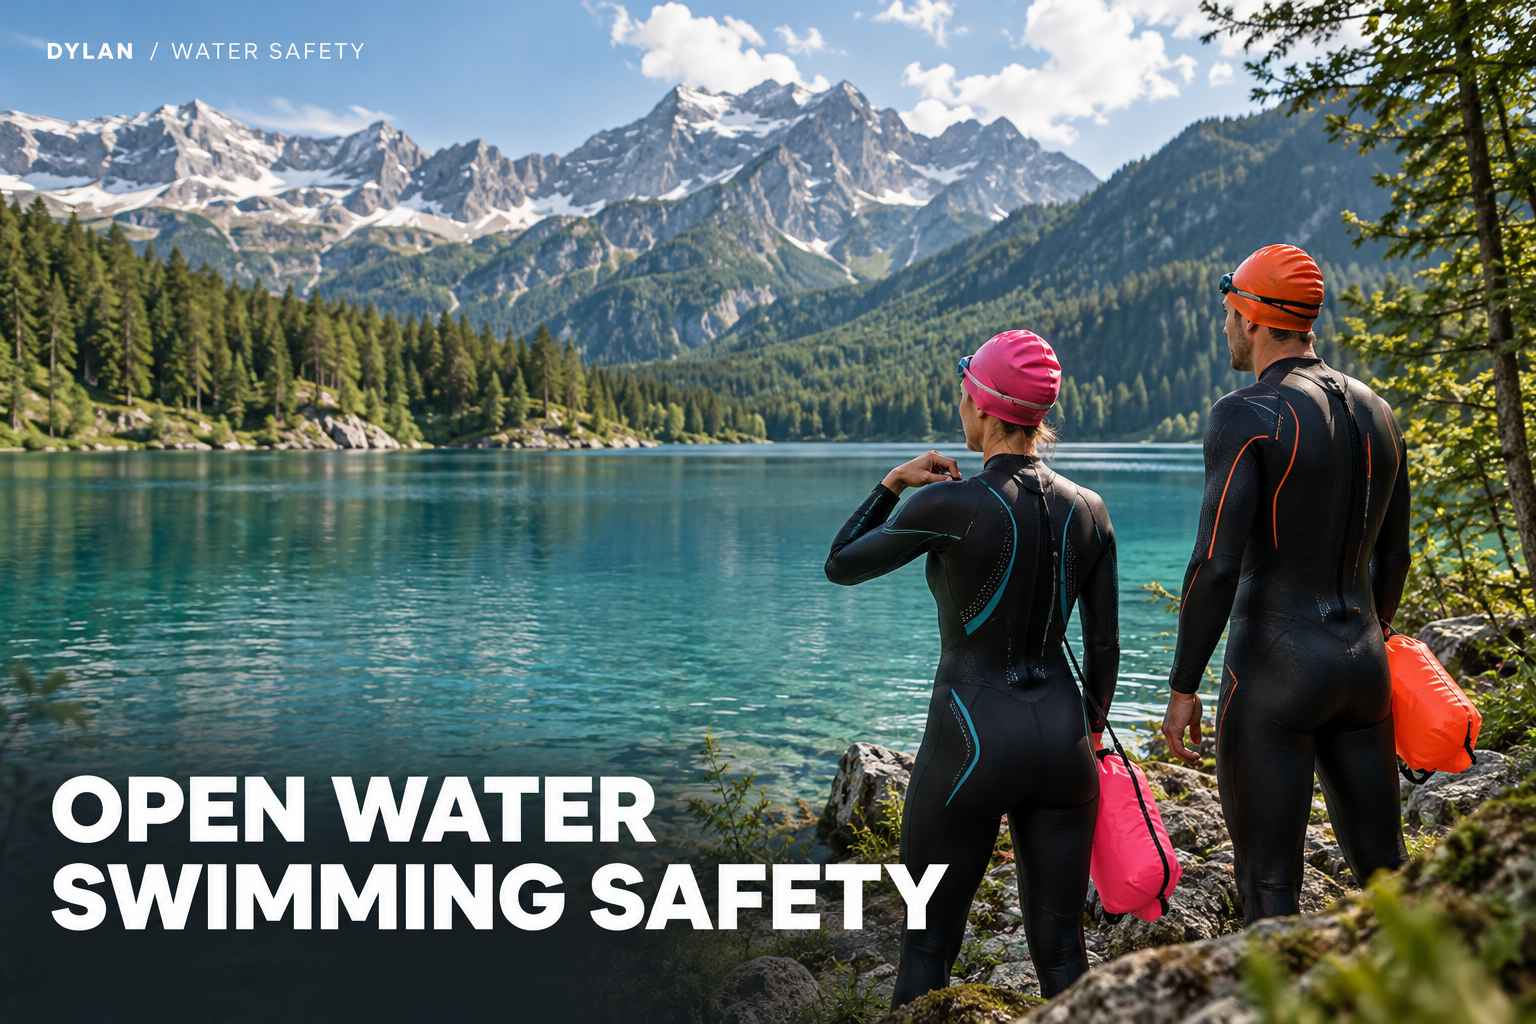
Open water swimming safety begins before your first stroke. A beautiful lake or calm-looking beach can make it tempting to focus on the view and leave the practical questions until later. Use this checklist to organise those questions while you are still on shore. It is a planning aid, not permission to enter any particular body of water.
Choose the location before choosing the distance
Look for a designated, lifeguarded or supervised swimming location. Ask the operator or lifeguard about the permitted area, local hazards and current restrictions. Confirm the entry and exit points. If you cannot get reliable information about the location, choose another activity instead of filling the gaps with assumptions.
Check conditions that a photograph cannot show
The RNLI recommends checking conditions and being prepared for open water. Review weather, water temperature, tides where relevant and local information. Enter gradually rather than jumping into unfamiliar water. A wetsuit, bright cap and suitable tow float can support an appropriate swimming plan, but they do not replace supervision, judgement or a lifejacket when one is required for an activity.
Build your plan around today’s information. A previous successful visit, a social-media recommendation or another person’s swimming ability cannot tell you what is suitable now. Record the name of the location and the source of the conditions advice so everyone in the group is discussing the same place.
Understand beach and rip-current advice
NOAA advises swimming near lifeguards, following posted instructions and avoiding solo swimming. If caught in a rip current, do not try to fight it by swimming directly against it. Seek help; depending on conditions and ability, options include floating or swimming out of the current following the shoreline before returning towards the beach. Ask a lifeguard about local conditions before entering.
Agree a short, practical plan
- Location: which designated area are we using?
- People: who is swimming with whom, and who knows our plan?
- Route: where do we enter and leave?
- Decision: what would make us cancel or finish early?
- Help: how do we contact a lifeguard or emergency services?
Discuss these points out loud. A plan understood by only one person is difficult for anyone else to use. Choose a session that leaves room to finish early; the planned distance should never become a reason to ignore discomfort or changing conditions.
Make the exit part of the experience
Keep dry clothing and your return arrangements organised. After the swim, talk about what was straightforward and what needs better preparation. This gives the next outing a useful starting point without treating a successful swim as proof that every future visit will be safe.
Frequently asked questions
Is a tow float a lifejacket?
No. A visibility aid should not be treated as a substitute for an appropriate approved lifejacket or rescue equipment.
Can strong pool swimmers skip local advice?
No. Outdoor conditions introduce different demands. Seek location-specific advice regardless of pool experience.
Sources and further learning
Educational reading from DYLAN. This article does not replace swimming lessons, rescue training or CPR certification. In an emergency, contact local emergency services. Cover image: AI-generated editorial illustration, not a technique demonstration.