Six detailed guides to understanding hunting risks, preparing your route and equipment, moving with control and responding when plans change. Start with training. Keep checking throughout the day.
06 PRACTICAL FIELD GUIDESPREPARE · CHECK · KNOW WHEN TO STOPFROM PLANNING TO SAFE RETURN
Useful preparation. Clear decisions.
Work through these six modules before your outing. Each pairs a photograph with practical actions, a readiness check and a reason to stop. Open the full BLOG article for detailed explanations and official learning resources.
Start with recognised instruction. These guides support beginner, ground-based field outings with a trained mentor. They do not replace practical firearm or archery instruction, local regulations, outdoor first aid or specialist training for elevated stands. Photos illustrate the topic; they are not technical handling demonstrations.
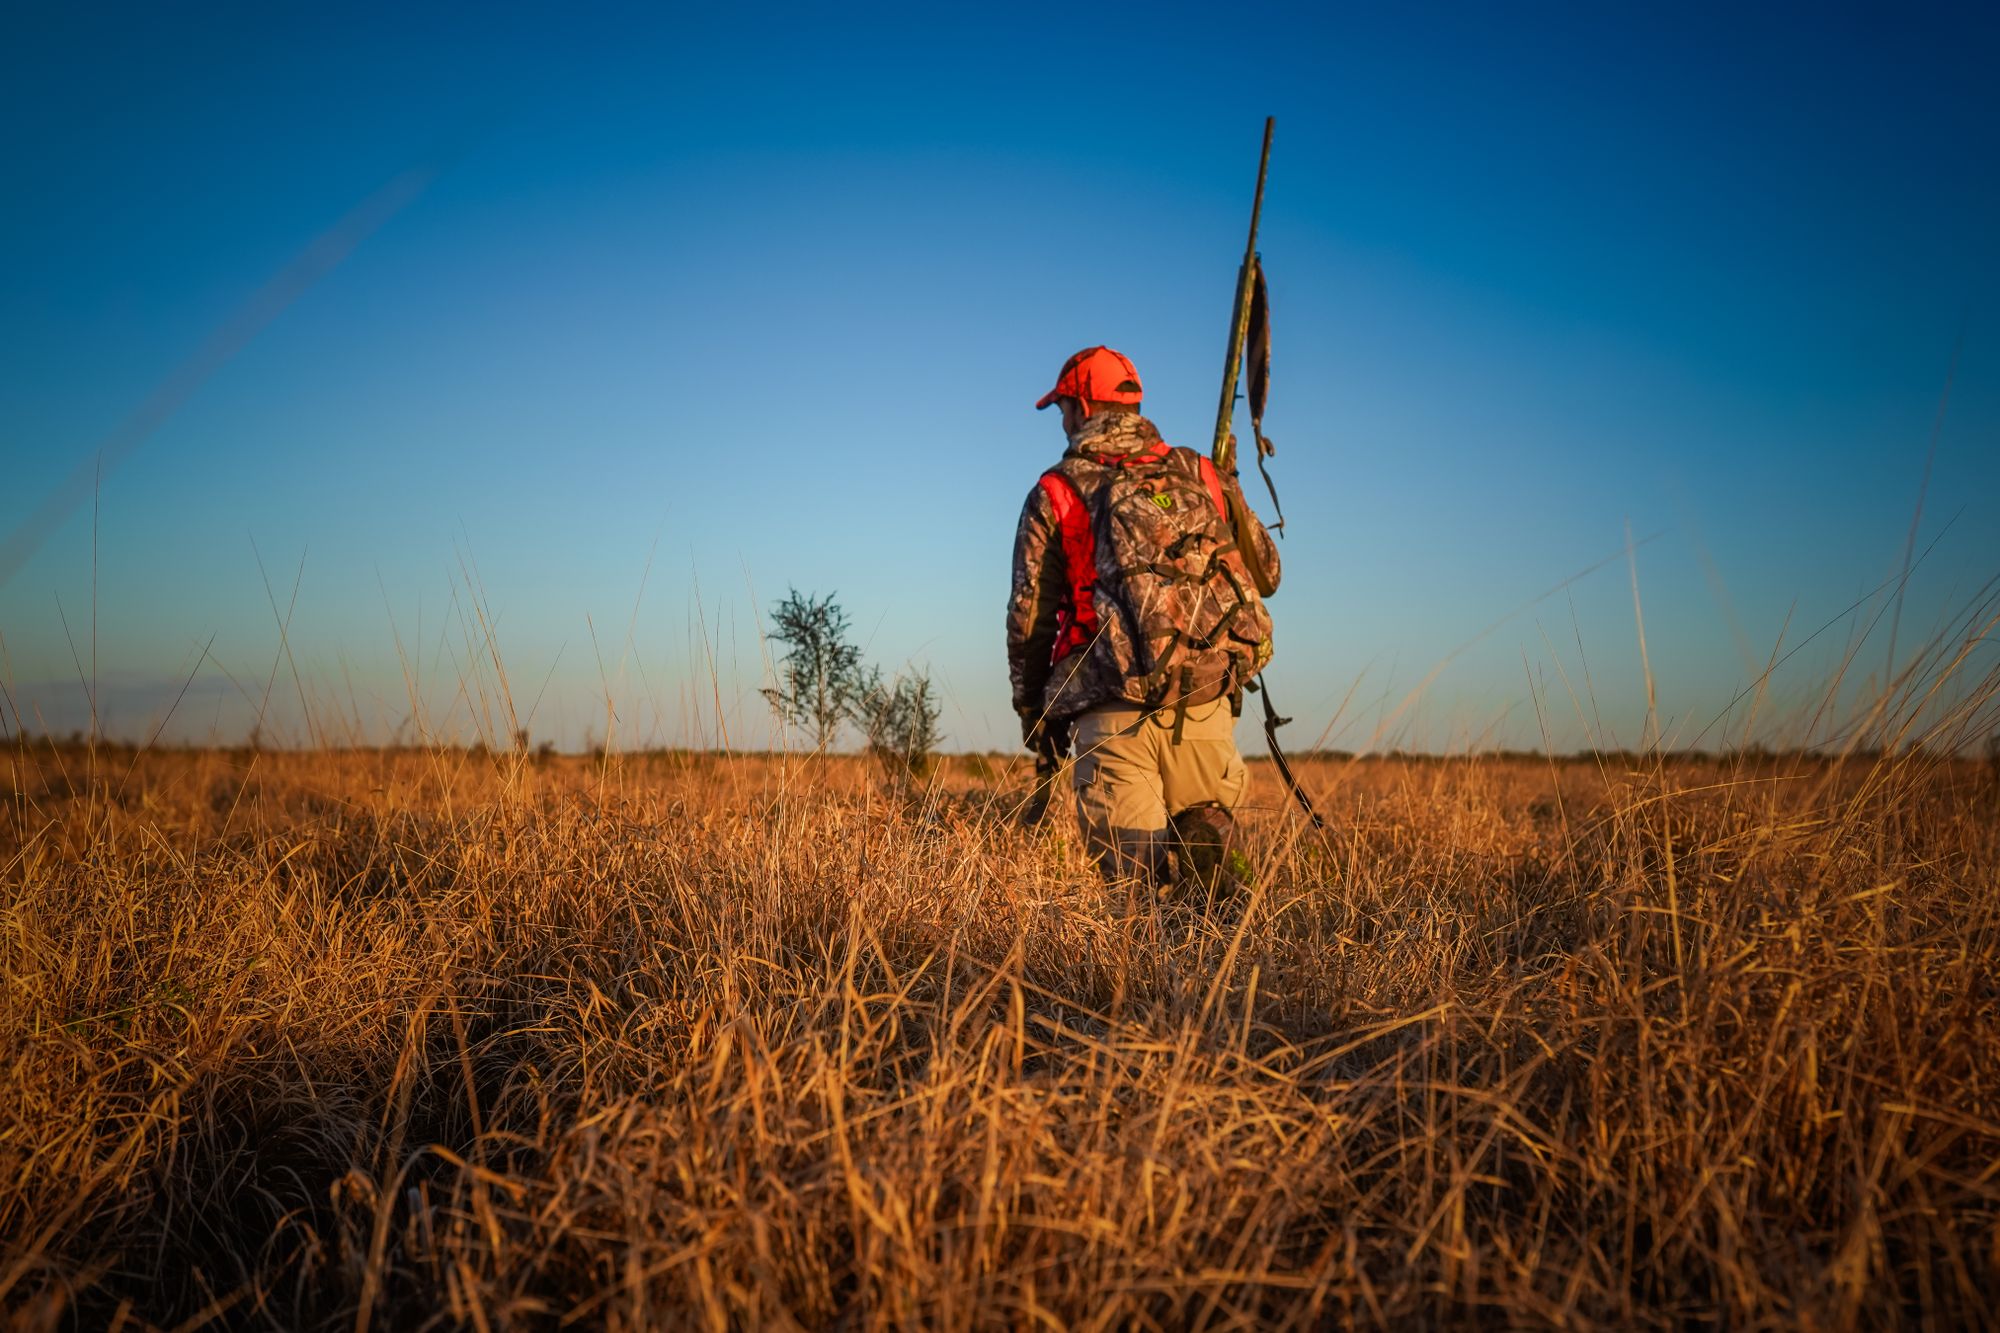
A field outing starts with a decision about conditions, experience and safe access.
01 / RISK & READINESS
Understand the risks before you go
Hunting combines remote terrain, changing weather, fatigue and equipment that demands disciplined handling. Make the first decision about whether the outing is suitable today — before thinking about what you hope to see.
Match the route, duration and terrain to the least experienced person. Begin with a trained mentor and an accessible, ground-based outing.
Check wind, rain, heat, cold, daylight and local closures. Identify a shorter route and a firm return time.
Discuss slips, separation, poor visibility and equipment risks. Agree that anyone can call a stop without pressure.
CHECK BEFORE CONTINUINGEveryone can explain the route, turnaround time, nearest safe shelter and circumstances that will end the outing.
STOP & REASSESSPostpone if training, permission or safe conditions are missing. Stop for impaired judgement, unusual weakness, worsening weather or lost contact with a partner.
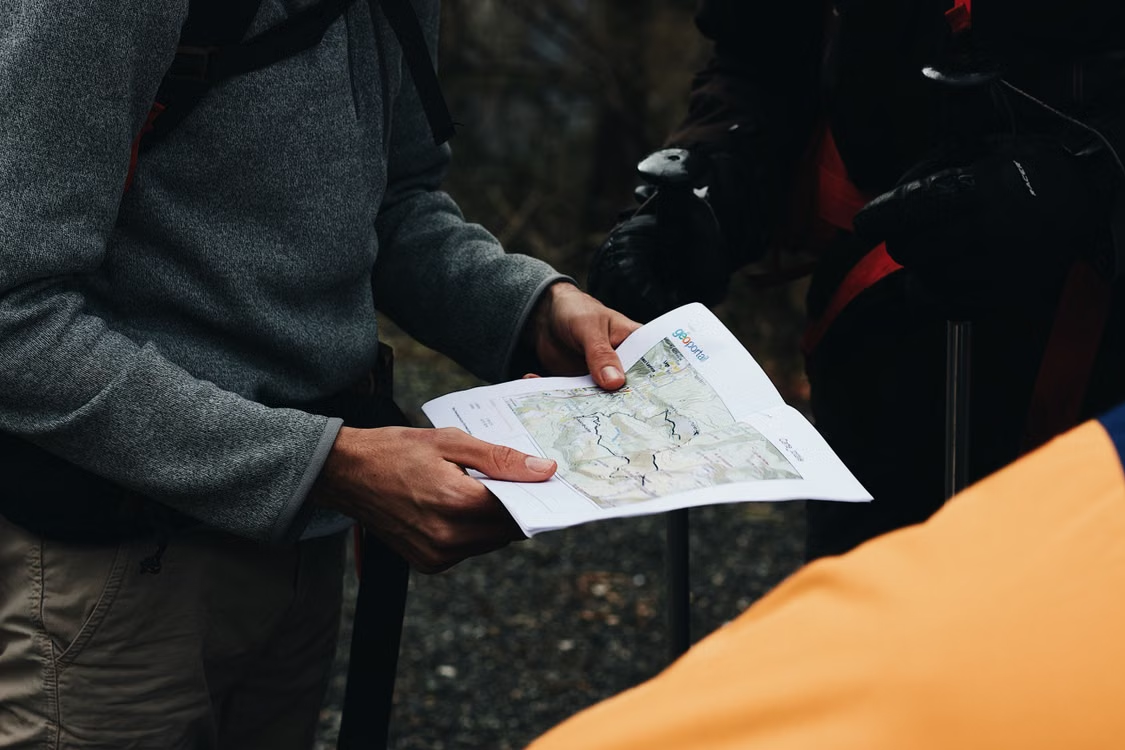
Read the map together and leave a clear plan with someone who is not on the trip.
02 / TRAINING & PREPARATION
Build a legal, shared field plan
Preparation means more than carrying a licence. Confirm the current local rules, the exact land you may enter, your practical training and a return plan that somebody outside the group can act on.
Confirm current season, species, permits, access boundaries and equipment rules with the responsible local authority and land manager.
Mark the route, parking, safe exits and emergency access. Download the map and carry a usable backup.
Leave participant details, route, vehicle information and an overdue action time with a trusted contact. Test communications.
CHECK BEFORE CONTINUINGEach participant has the required documents and knows the meeting point, boundaries, contact procedure and return deadline.
STOP & REASSESSDo not enter unclear or closed land, assume another person’s permission covers you, or continue after an unplanned separation.
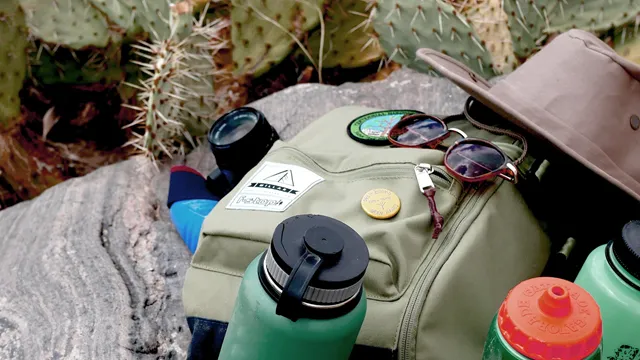
Build the pack around navigation, visibility, weather protection and the ability to cope with a delay. Select equipment you understand and test it before leaving home; more weight does not automatically mean more preparedness.
Fit broken-in boots, suitable socks and adjustable layers. Pack a weatherproof shell and dry insulation for unplanned waiting.
Carry navigation with backup, light, water, extra food, first aid, sun protection, repair essentials and emergency shelter.
Keep the phone and whistle accessible on your person. Check batteries, expiry dates, water supply and pack fit.
CHECK BEFORE CONTINUINGYou can find and use essential items without emptying the bag. Your loaded pack is comfortable and the group knows where emergency supplies are.
STOP & REASSESSReplace damaged essentials. Shorten or cancel the plan if weather protection, water, navigation or communication is inadequate.
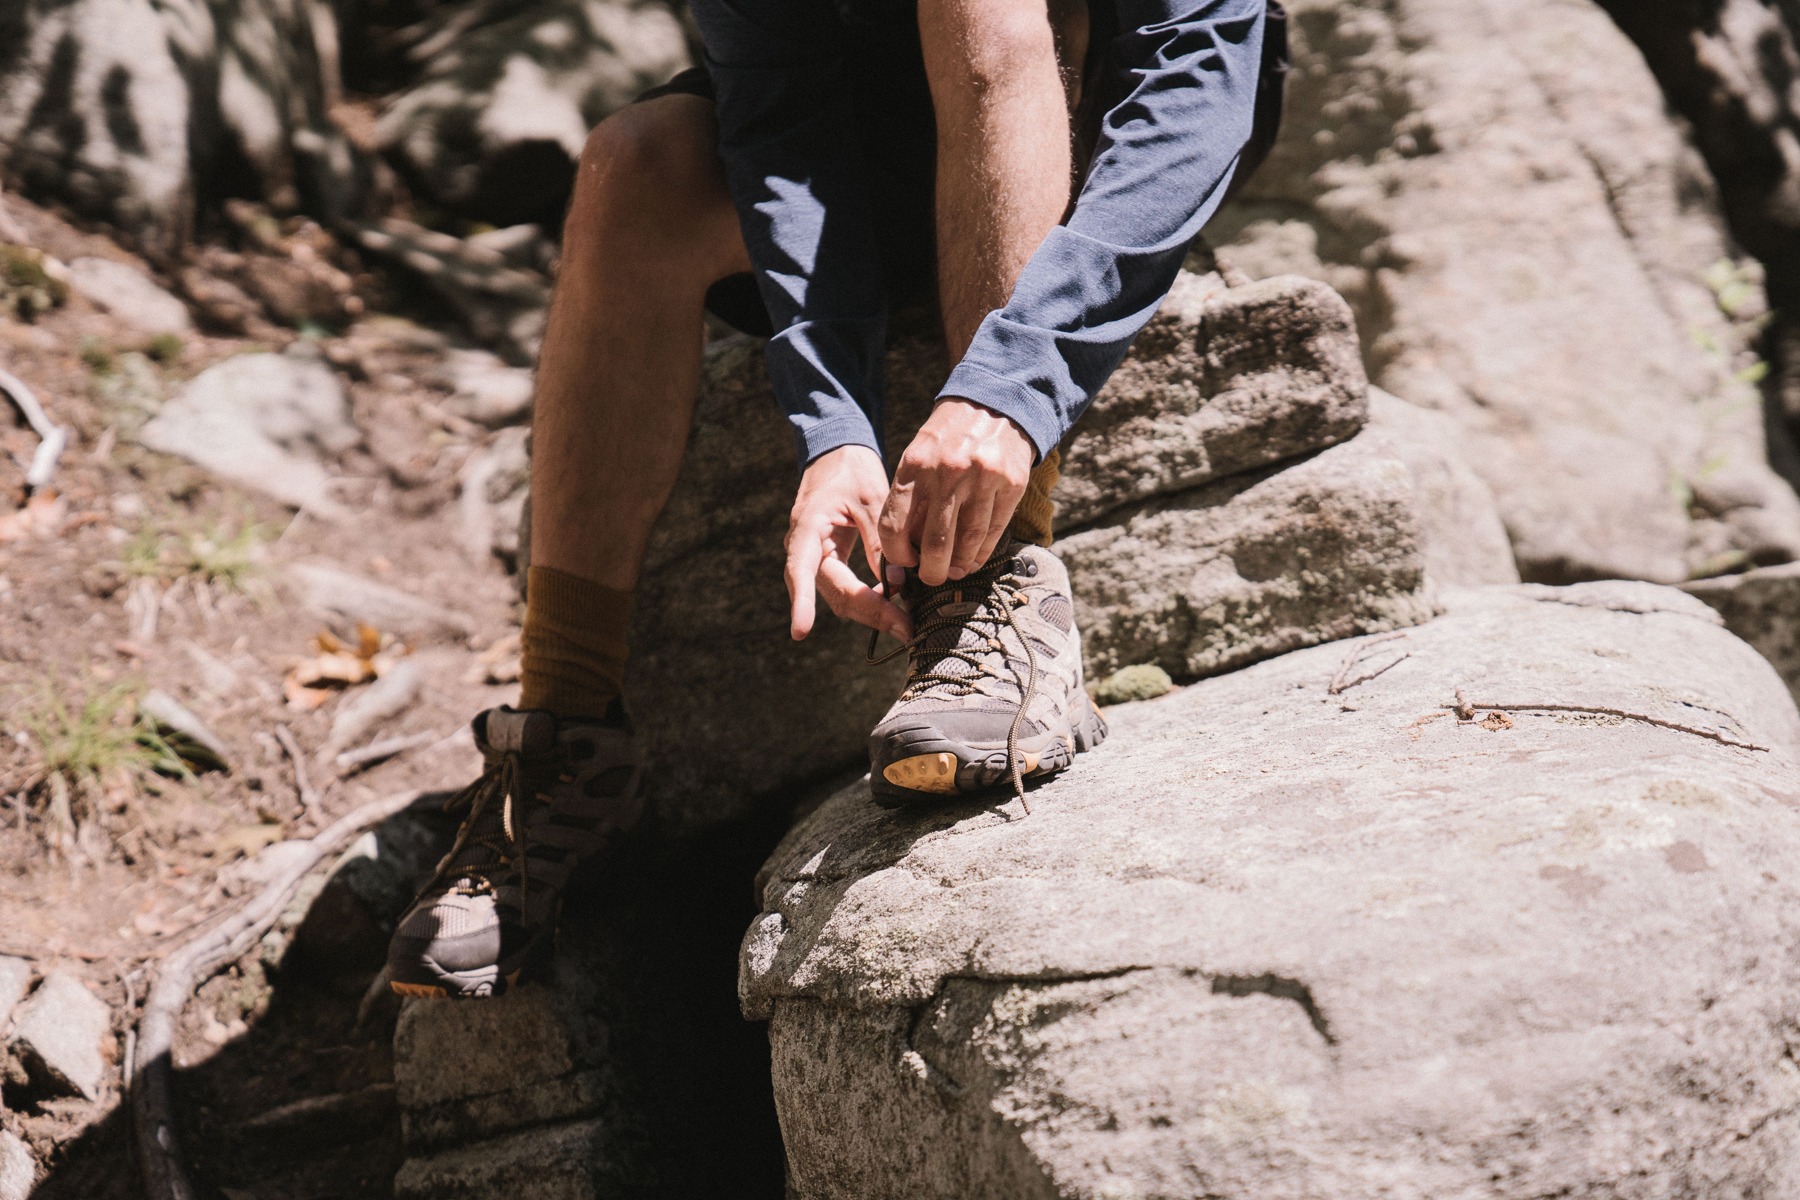
Check footwear before practising steady movement on uneven terrain.
04 / MOVEMENT & OBSERVATION
Move and observe with control
Good field movement starts with balance and attention. Practise walking, stopping, looking and changing direction as separate actions so that observation does not distract you from footing or the people around you.
Check boots and pack fit, begin at an easy pace and take short, deliberate steps on uneven ground.
Stop on stable ground before using binoculars or reading a map. Locate companions before changing direction.
Pause at fences, slopes or water. Choose a gate, bridge or easier route; unload firearms before crossing obstacles using your taught procedure.
CHECK BEFORE CONTINUINGThe group is together, everyone can see the next safe foothold and no observation task is competing with safe equipment handling.
STOP & REASSESSStop for unstable footing, pain, fatigue, rising water or uncertain boundaries. Never rush an obstacle to keep up.
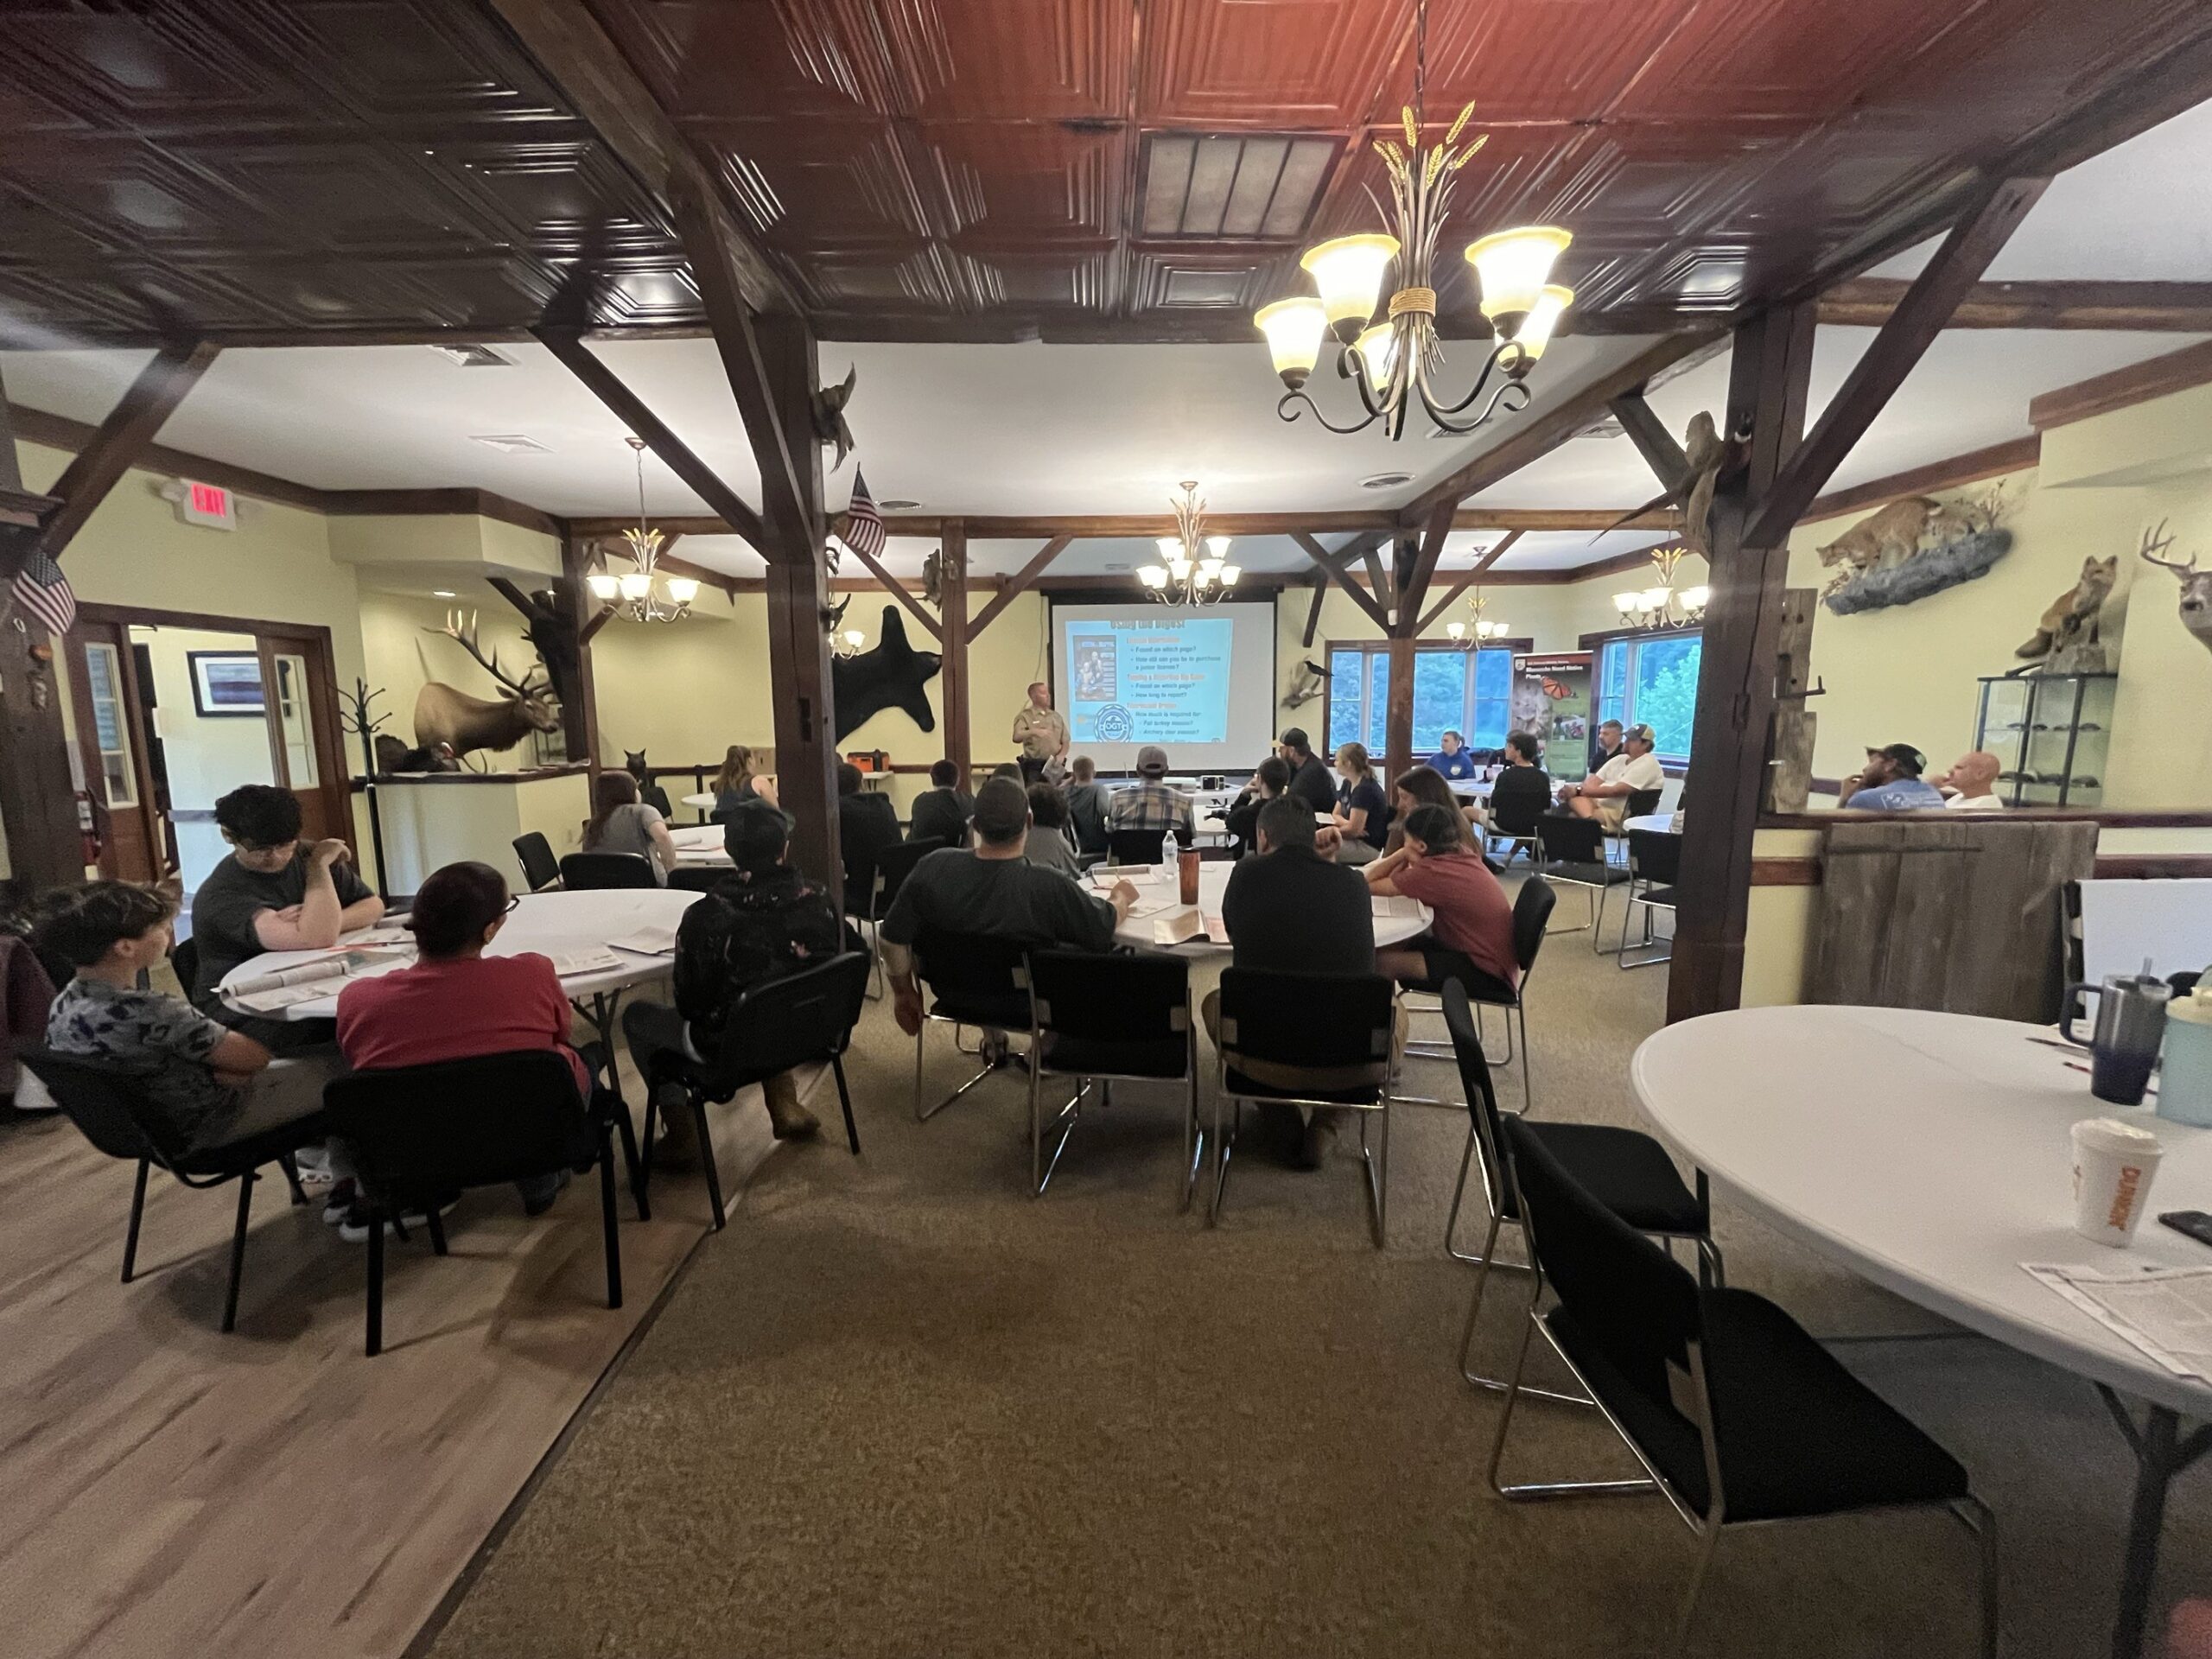
Hunter education at Cherry Valley National Wildlife Refuge. Photo: USFWS (public domain).
05 / FIREARM, BOW & PARTNER SAFETY
Make safety a shared routine
A partner check should confirm understanding, not create false confidence. Learn equipment handling through recognised practical instruction, then repeat the same safety habits every time equipment is carried, transferred or put away.
Treat every firearm as loaded, control its muzzle and keep your finger outside the trigger guard until ready to shoot. Never rely on the safety catch alone.
Be certain of identification and what lies beyond. Use binoculars for observation; stop when another person’s position is unclear.
Use only equipment you have been trained to handle. Inspect it as instructed, agree clear stop calls and keep beginners at ground level.
CHECK BEFORE CONTINUINGEveryone understands the stop signal, knows the group’s positions and can demonstrate the required handling checks to an instructor.
STOP & REASSESSStop immediately for unsafe muzzle direction, damaged equipment, uncertainty about people nearby or pressure to exceed your training.
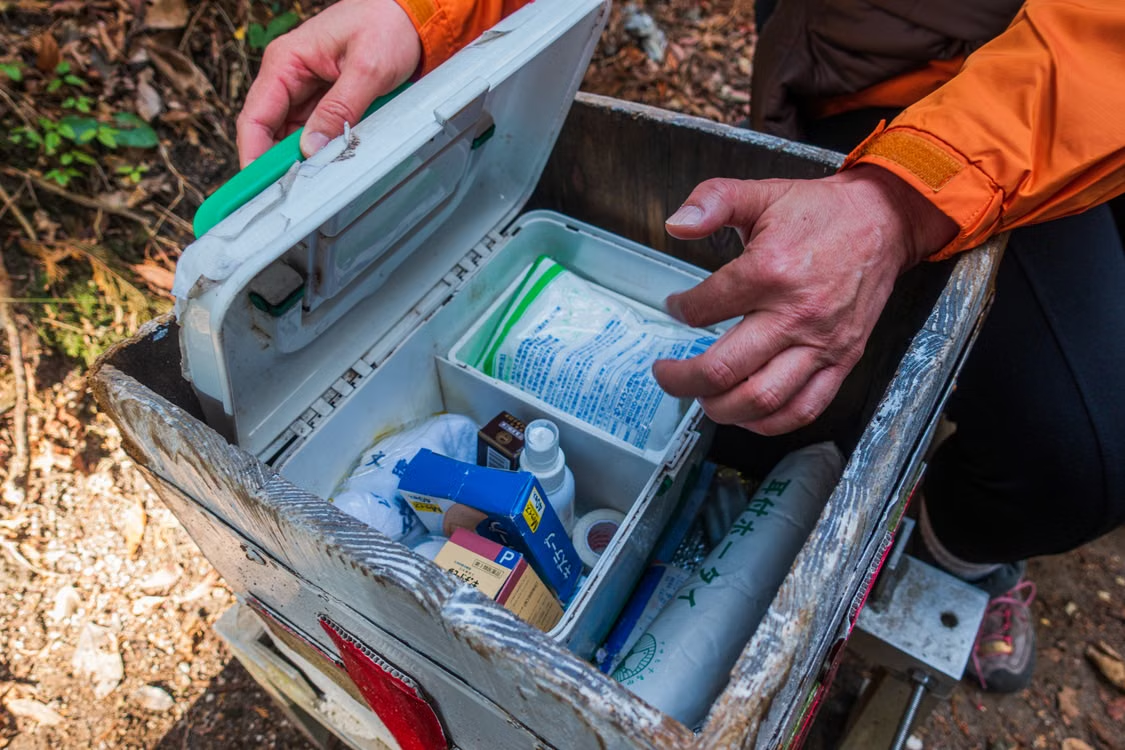
Know what your first-aid kit contains and seek practical training before relying on it.
06 / EMERGENCY & RETURN
Prepare for delays, emergencies and return
The emergency plan starts before departure and ends when everyone is accounted for. Know how to report a location, stay together, protect against exposure and tell your contact that the day has finished.
Save the local emergency number and practise finding your map position. Keep communication, light and whistle accessible.
If lost, stop and assess from a safe place. Avoid wandering or splitting the group; use the agreed plan and call for help when needed.
For serious injury, make the area safe and contact emergency services. After returning, check in, inspect equipment and check for ticks.
CHECK BEFORE CONTINUINGThe group can give its location and route, identify emergency access and explain who will call for help and who will stay with the casualty.
STOP & REASSESSEnd the outing for injury, confusion, marked weakness or worsening conditions. Do not turn an emergency into a second casualty through an improvised rescue.
A ticked box is a reminder, not proof of competence. Resolve any uncertainty with your instructor or land manager before setting out.
Cookies on DYLAN. With your permission we use analytics cookies to see which pages and guides are useful. Necessary cookies for sign-in, your enquiry list and live chat are always on. Cookie Policy